Friday, 15 April 2016

Observational Drawings


These are but a few Observational drawings I've done inspired from the pictures I had taken. As seeing as I've done a few drawings on Photoshop I decided to draw these by hand. The materials I have was only a HB pencil and paper. No other materials were needed. 

Carving Drawings


The idea for this piece came from a photo I had took for Primary research and observational drawing purposes. It’s 3D in the photo to add texture within the gravestone. At the moment its analogue because I done it by hand but my intention is to do another interpretation on Photoshop also. The subject matter is Gravestones and as some of the photos I had taken are the way I want my final piece it may add extra affect.
As of now the materials I have used have simply been a HB pencil and paper. No other materials were needed. The material was more than appropriate.
          Something I would do different next time is when getting photos I will be going closer to the gravestone for the way the texture has been designed. A problem I encountered was that when I zoomed in to the detail in the carvings the photo went all pixelated. To solve the issue as said before going close to the gravestone to see the Carvings. I am pleased with the outcome because it was my first attempt at the carvings and they’re quite similar. The carvings will help forward my project because I’ll be able to get better in doing the carvings and making my own style for carvings if that’s the path I take.


Wednesday, 13 April 2016

Primary Research


After taking these photos it has broadened my horizons in that I’ve now got more possibilities for how to design my Final Piece.

A couple ideas that I have gotten is in one picture take out the Mary and add in a bottle of Jack Daniels. Another idea is to get close to into some of the older texture and attempt to re-create it using Photoshop.

My train of thought is to draw these by hand; doing smaller ones as initial Sketches and hoping to get better with each one I do. Scan them into Photoshop and then add the texture there.

Tuesday, 12 April 2016

Problems With My Maya Experiment


A problem I Encountered when doin' my Maya experiment was that when i was in a different perspective so i had thought I selected the top face but instead i didn't i selected many. To overcome the problem I pressed "ctrl + Z" to undo to where i didnt mess up. A choice I made was to re-create a piece I found on "Artstation.com". I made these choices because I have a feeling of how i want my final piece. A Consequence i feel i can face is that my Interpretation could be too similar to my Final Piece 


The Problem with This is that the Pillar wasn't straight. As before to over come the problem I hit "Ctrl + Z" to undo where I had gone wrong. the only Solution was to undo where I had messed up. to continue with the piece i had no choice but to implement this solution. A choice I made was to re-create a piece I found on "Artstation.com". I made these choices because I have a feeling of how i want my final piece. A Consequence I feel I can face is that my Interpretation could be too similar to my Final Piece 


The Problem that i encountered at this point is that because i am in a different perspective I thought i had selected the top face but i never. To over come it i Hit "Ctrl + Z" then hit the Space Bar to change my perspective so i was able to select the face i wanted to extrude. there was two solutions which were either Keep the pillar the way it was or undo to where i never messed up. The only way to continue was to Implement the decisions so therefore i did. A choice I made was to re-create a piece I found on "Artstation.com". I made these choices because I have a feeling of how i want my final piece. A Consequence i feel i can face is that my Interpretation could be too similar to my Final Piece 


Wednesday, 23 March 2016

Plan for Easter Holiday

Over the next two weeks during our Easter break my plan for this project is to work through and acting on the comments my Tutor has posted for me to improve my work. 

This is because at home I am unable to Access the software I'm able to within college 

Throughout the holiday I plan on Doing 
-one last artist research
-working through the comments/feedback form
-i hopefully plan on also visiting a cemetery or two also and doing some observational drawings too!

Friday, 18 March 2016

Maya Experiment/ Artist interpretation (Gravestone)


This is the reference image I chose to re-design


In doing this interpretation

Doing the Maya experiment I had decided that I could also do a 3D artist interpretation, my reference image included circular pillars but instead as a test I used a cube and extruded it. After I was happy with it I used the cylinder shape and extruded that. With help from my tutor (Chris) using the multi-cut tool he selected a section and then extruded that out to make the indents

Over the course of me making the interpretation I took screen shots to show my progress along the way of making the gravestone 


this is as far as I've got with My experiment as of yet. When doing this there has been mistakes that I, myself have done then re-corrected. one of which was the top part of the right pillar was going out instead of in, so I deleted that pillar itself and started again.

Step-by-step:

-First a had found an image that I wanted to recreate from an artist I had researched

- I took that image into Photoshop and created a reference image for me to use in Maya

- Then in Maya I went to file selected "Project window" Then went into my hard drive and selected for the project window to be saved within there

- Once that had been done I went on to "Set Project" and Selected the folder i had named the which was "Alex Guillen Artist Interpretation"

-To insert my reference image, I Saved the image in a folder called "Source images" and then "reference Image"

-In Maya to insert the image I went "edit" and clicked "free image plane" from there I selected the free image plane, then selected the "Attribute Editor" in that you would select the folder and then go to the "source images" and select the picture i had created 


- I Clicked the button that is highlighted which created a new layer and assigned my free image plane to it.


- Clicking the button with 'R' in it that makes the image plane a reference meaning I can't select it or move it keeping it frozen so I'm able to use it.

- I originally chose the Square tool but the original image was circular so I chose the Cylinder tool
- The "subdivisions cap scroller changes the number of faces you can select on the mesh
- This is what it looks like with the subdivision cap at 0, meaning its easier to select the face i want to extrude
- After that using the "W" and "R" Keys on the keyboard I was able to move the cylinder and change the size to fit the reference image


- The image above also shows that I've begun to extrude the cylinder only selecting the face by  holding down right click meaning I can select only one face to an object. with Extruding i clicked the Red block then the centre block bringing the face in equally.

Wednesday, 16 March 2016

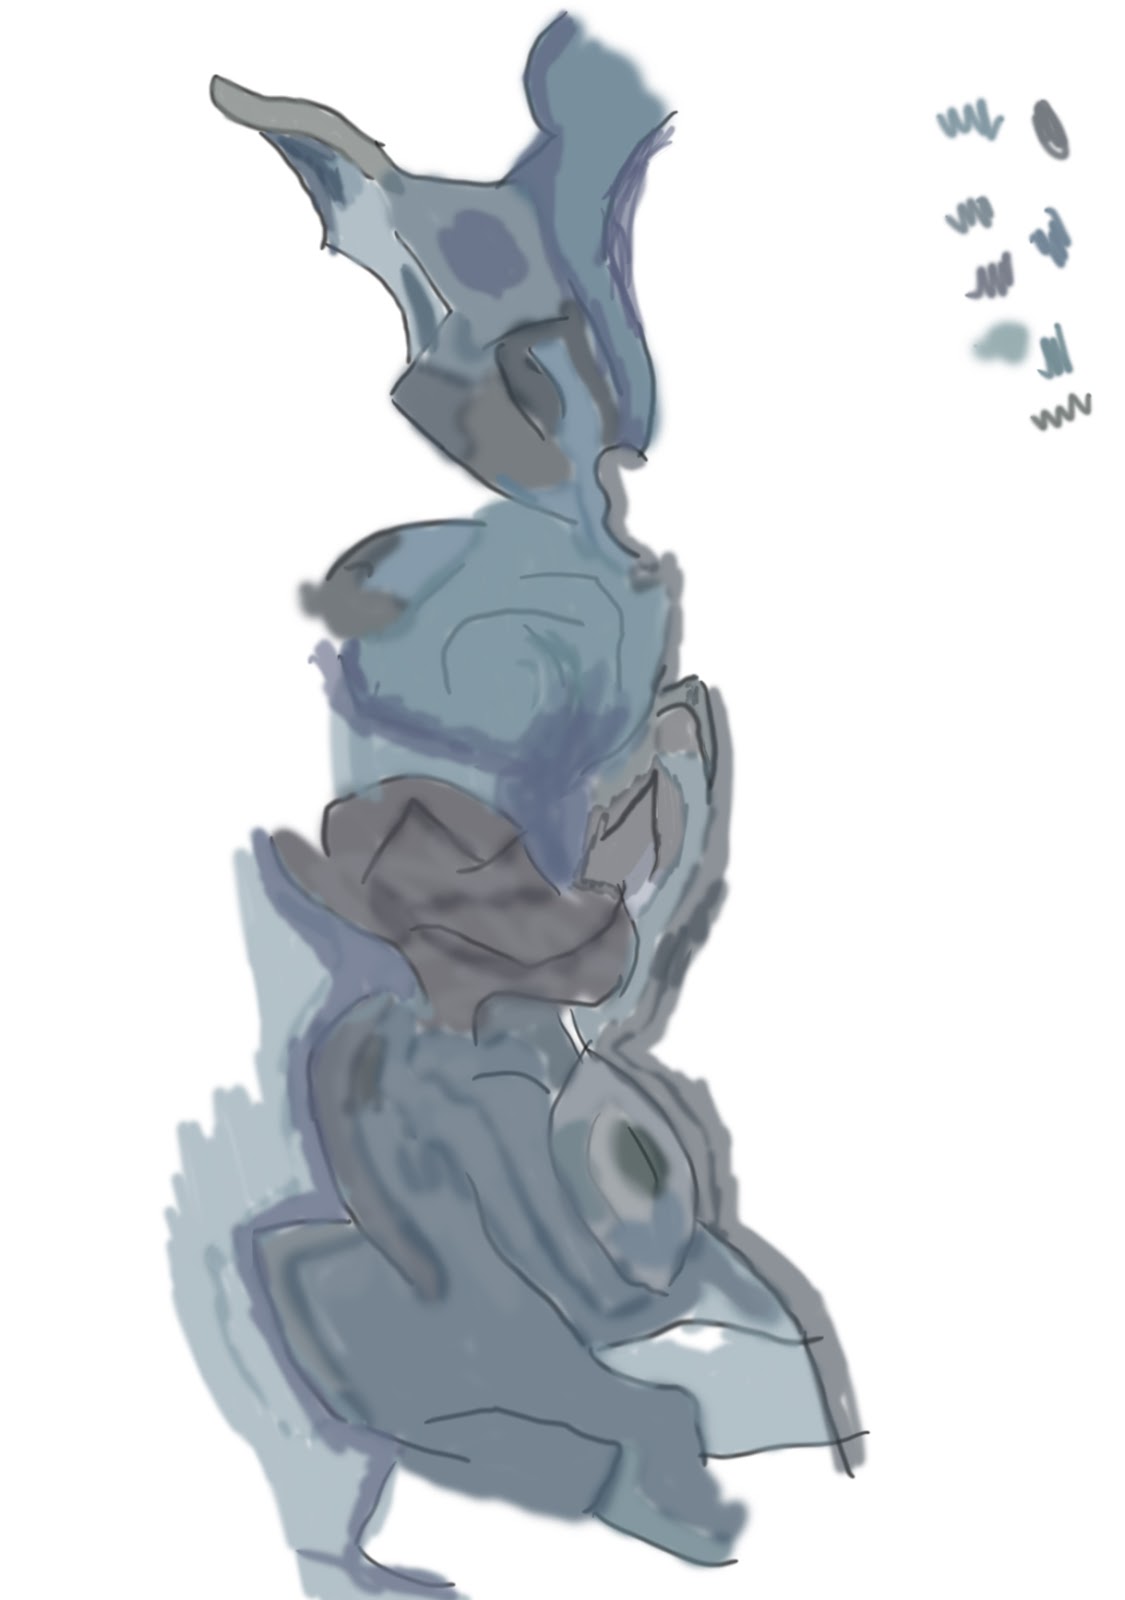
Painting Experiment


This process I found it to be a second nature because I partially do it anyway the only difference is that I draw an outline instead of blocking out the shapes and then colouring using a colour pallet. Also a difference is that I was using full opacity but now I’ll be using half opacity and flow so I'm able to then work into my drawing thus adding tone. I never once traced the whale picture I had chosen and I couldn't think about what I was drawing
First we found a picture then taken that into Photoshop
-          using the pen tool we taken some colours from dark mid and light tones
-          using the brush tool I had to block out the shape of the whale

-          After that had been done I started to work on the colours, always changing the size of the brush and the colour.
      From learning this technique I will use this in my own project by having the opacity on my brush lowered and the flow so if I mess up on the drawing I can work into it and make it look like less of a mistake instead of rubbing it out