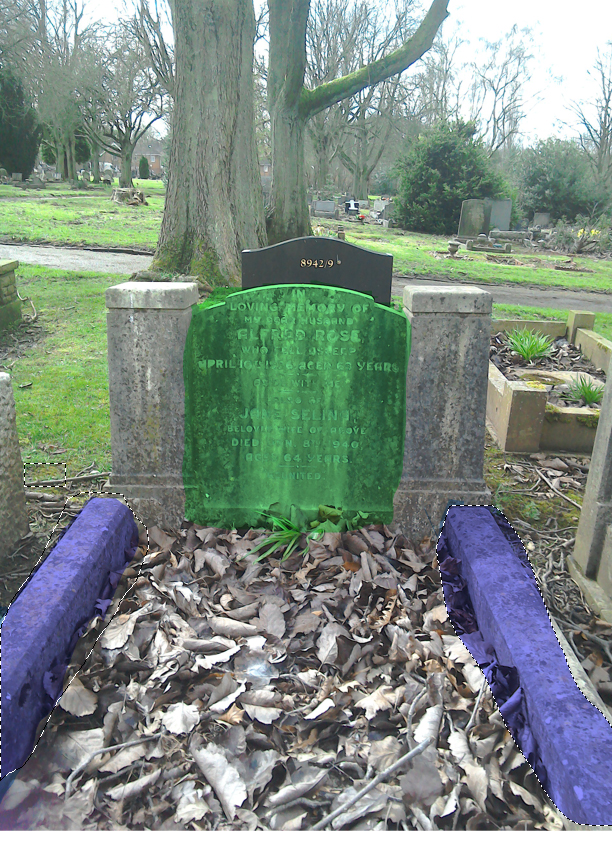
Before I was able
to start my piece in Maya I had to make a 2D representation in Photoshop
blocking out the things I wanted to create.
Photoshop:
-
Initially I
imported the picture I wanted into a Photoshop document
-
To Block out
the objects I wanted to create in Maya, I would use the “Lasso tool” and draw
around the post, then by holding down the “shift” key I was able to create a
second area I wanted.
-
Using the “G”
key I was able to short-cut to selecting the Paint bucket which allowed me to
fill in the selected area on a new layer. By Selecting Multiplier on the layer
options I was able to see the post etc through the other layer and coloured
layer – it also helped me to see the post when I decreased the opacity
I then copied
this process for the next two things I wanted to create; using different
colours
After
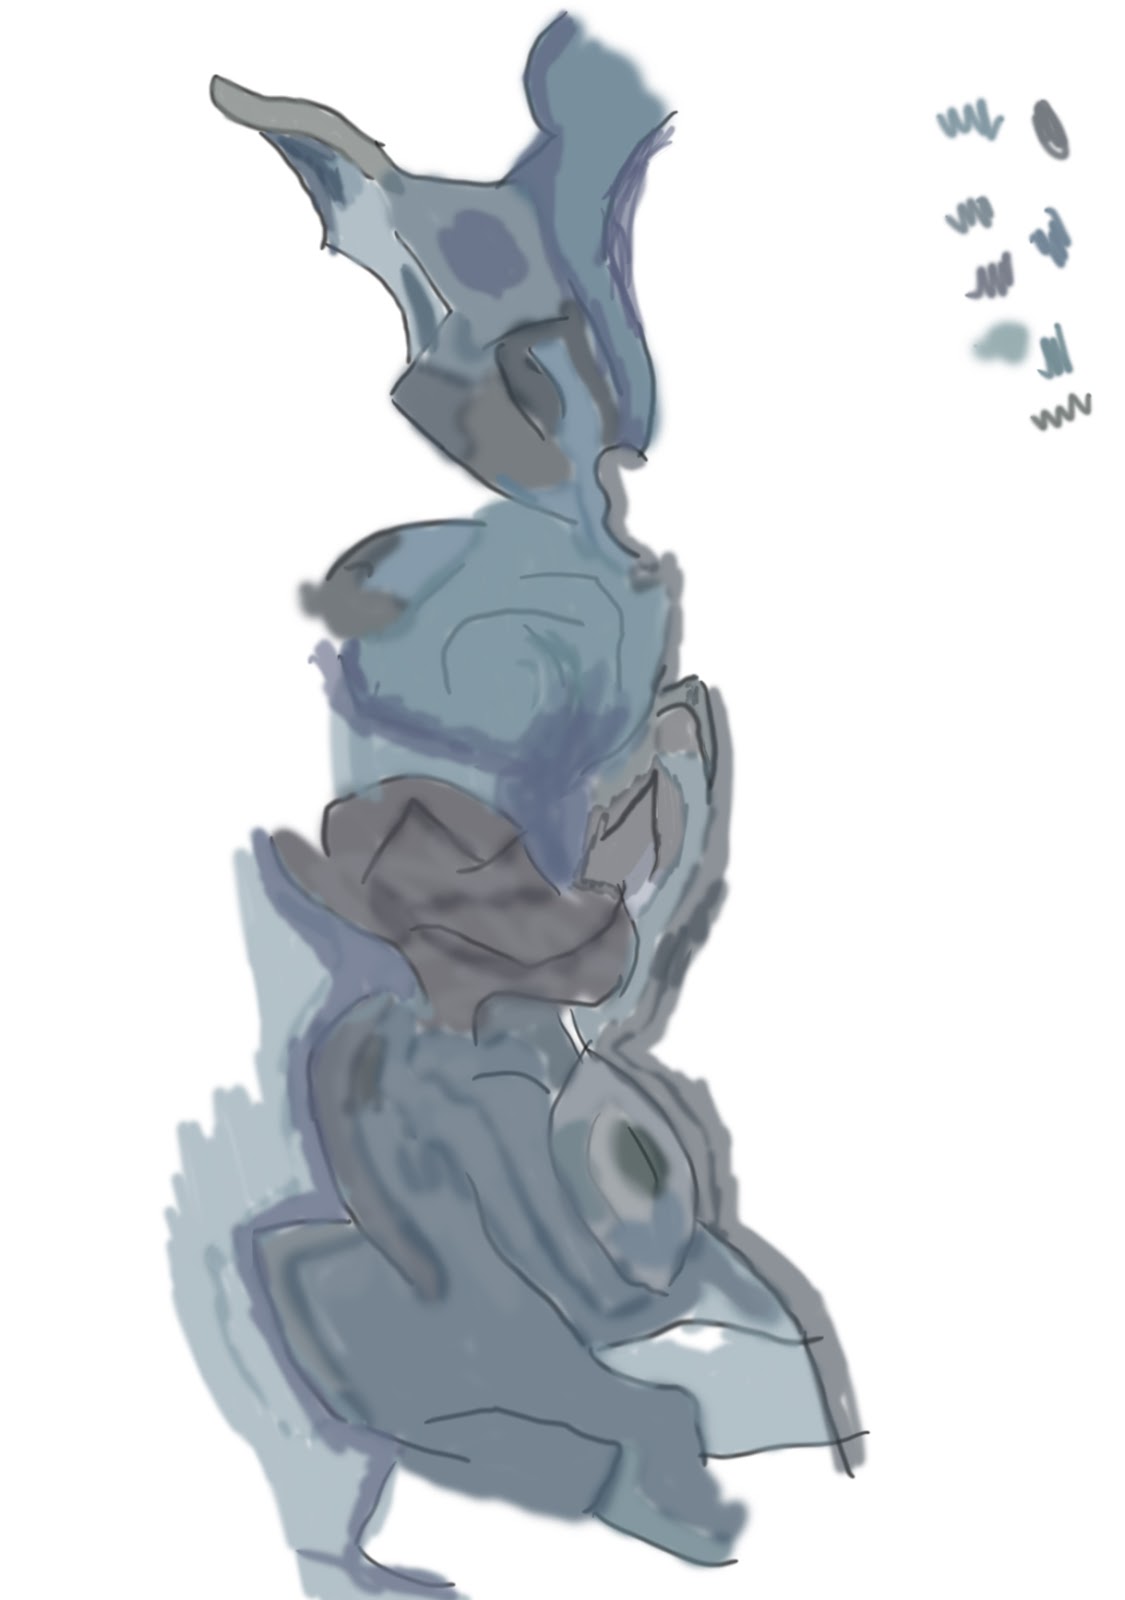
the areas I was creating was designated I had to then draw 2D representations of
those selected pieces so I drew around them, to make the pillar 100%
symmetrical using the “Rectangular Marquee Tool” I selected half used “Ctrl+J”
to duplicate the selected half onto a
new layer used “Ctrl+T” to transform, right click then selected “flip
Horizontal”
To Create the Tombstone to make the correct proportions I used the pen tool instead of the brush tool
to create the little square thing I don exactly as I did with the post by drawing half, duplicating then flipping.
Maya:
First off I had to create
the project window, to do so click; File, then down to project window
A little window will appear, click “new”
give your project a name, then click the little folder and choose a place to
save it. After click "file" then "set project" Click the file you created.
Now the project has been created
& selected it’s time to create the grave stone, ti import a picture to
Maya, click “create” then “free image plane” Click on the plane and select
attribute editor, Click the file to import the 2D reference image
Once the image was imported I put the
image on a new layer, and then turned the image plane into a reference.
I created a cube mesh then by hitting
“R” I was able to scale it, to make it fully sized I hit right click and
selected vertex to move each vertex to the edge of the image aligning the mesh
with the image by selecting those overlapping squares it makes the mesh transparent
To create the pillar, you would have
to extrude to do so you could either “right click+Shift and select extrude” or
press “Ctrl+E” instead of crafting another I selected the Pillar and pressed "Ctrl+D" to duplicate the pillar.
To make the main headstone; like
before, I made a cube mesh but then went to the attribute editor and made 14 (a
nice even number) subdivisions so I’m able to add detail to the headstone
After that I held “right click”
selected vertex, in my front perspective view I would drag select the vertexes I
wanted to move then line them up with the reference image. But leave off the
top. I held right click and selected face selected the faces that lined up with
the top bit and hit extrude to bring them up. to refine it though I went back
to vertex and moved the vertexes
To make sure that the headstone is
100% symmetrical I deleted half of the mesh then to mirror it I selected the mesh
and went “mesh” and down to “Mirror Geometry” to make it symmetrical.
Now both pillars and the headstone
are done it starts to take shape
To make the final piece for the grave stone as before I started
off with a square and then but to bring in the edges I held shift + right click
and then selected bevel edge
Now that it’s been created I scaled it down by pressing “R” and selecting
the middle square. Then by holding right click and pressing vertex I selected
the vertices and pressed “W” to bring them forward. To duplicate it I selected
the object and pressed “Ctrl + D” to duplicate it

To connect them together I made another square and done the bevelled
edge but unfortunately I wasn't able to join the edges together to make it look
like it ran around and one combined piece. I even tried to select the vertex's and put snap to vertex on and didn't work
To connect them together I made another square and done the bevelled
edge but unfortunately I wasn't able to join the edges together to make it look
like it ran around and one combined piece
Instead I made a square as before and scaled it, but instead of
bevelling the edge I held “Shift + Right Click” and selected multi-cut tool to
add more vertices and faces, then pressed “Ctrl + D” to duplicate the rectangle
After I selected the faces held “shift + Right click and selected
bridge, then changed the subdivisions from 5 to 0
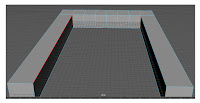
Then as before “Right Click” select edge select all the top edges,
“shift + Right Click and select bevel edge
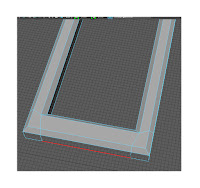
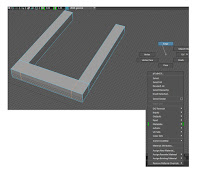
FINAL PIECE